Deploy NetSpeek Edge in VMware ESXi as OVF
Before you begin ensure you have VMWare ESXI installed.
1. Create a New Virtual Machine
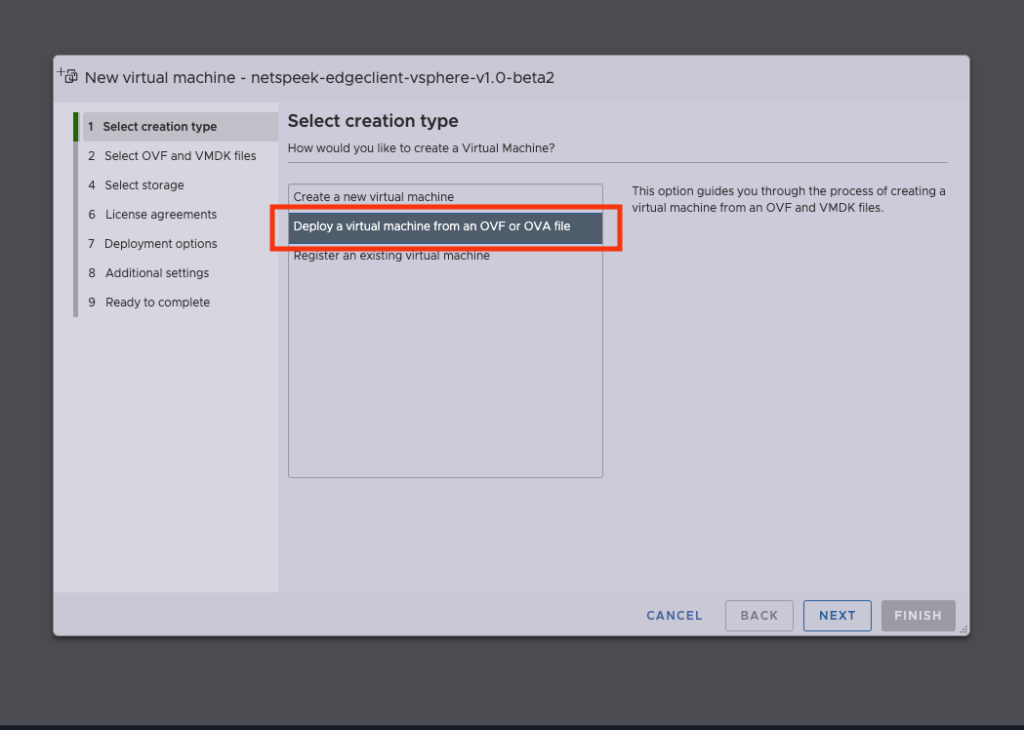
1. Open VMware ESXi, click “New virtual machine”. Select “Deploy a virtual machine from an OVF or OVA file” then click “Next”
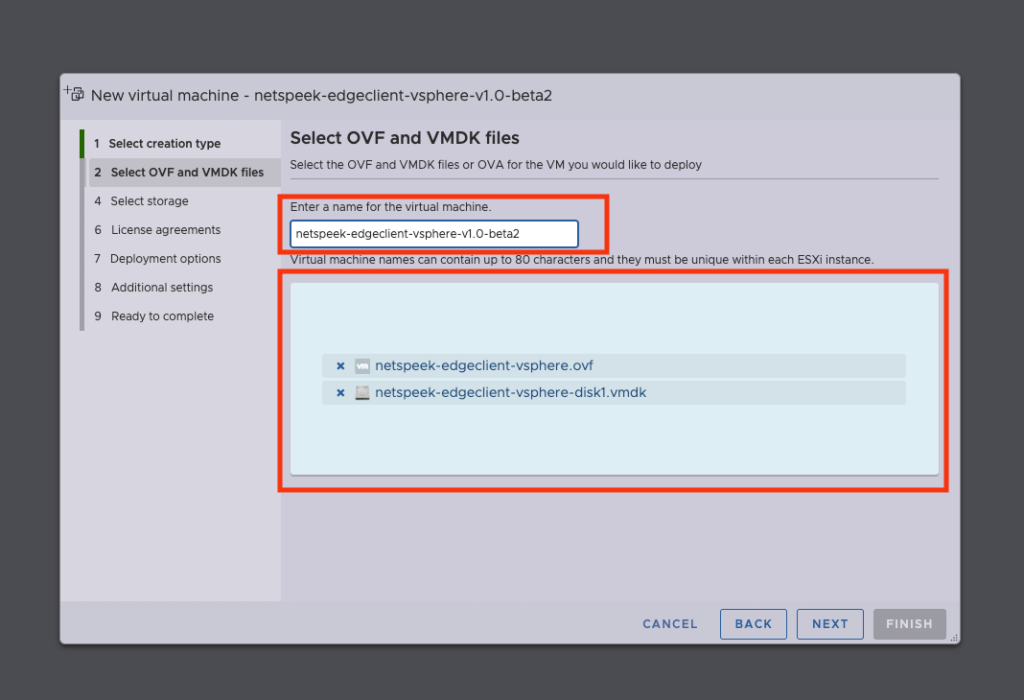
2. Name the virtual machine and upload the ovf and vmdk files you received from NetSpeek. Click “Next”.
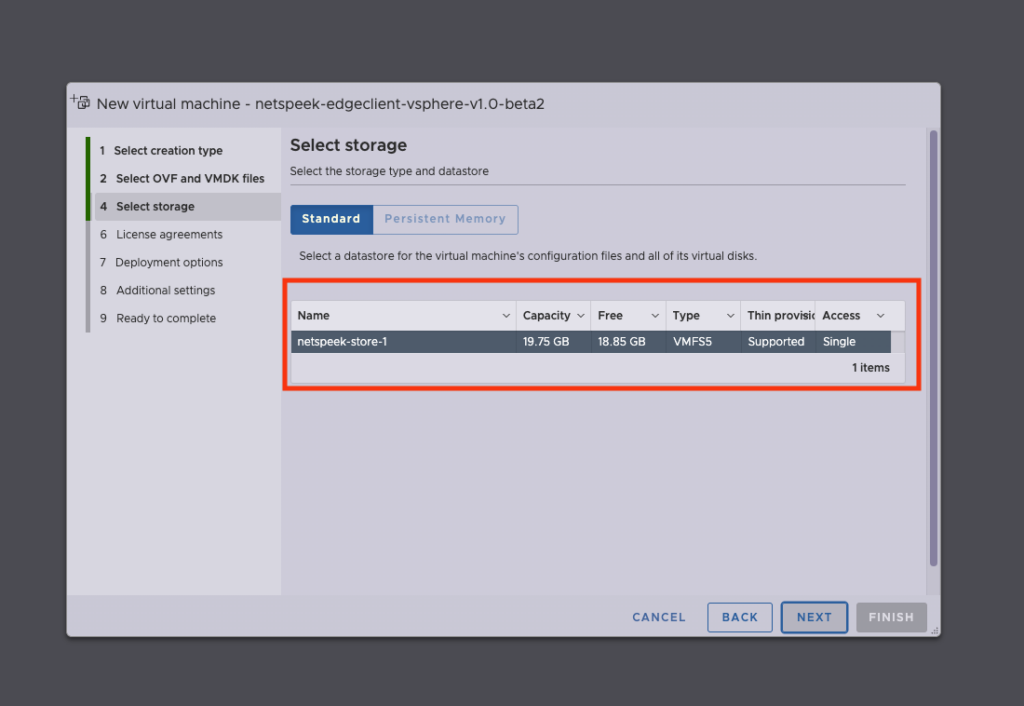
3. Select your preferred Datastore. Click “Next”.
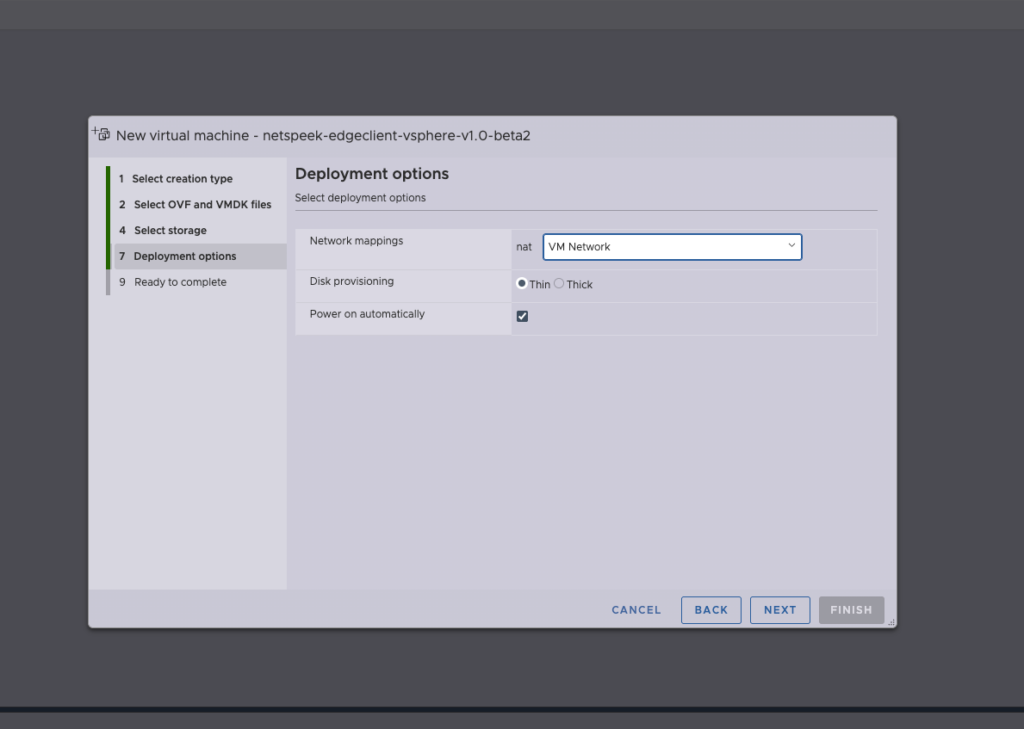
4. Select your preferred Deployment Options, and click “Next”.
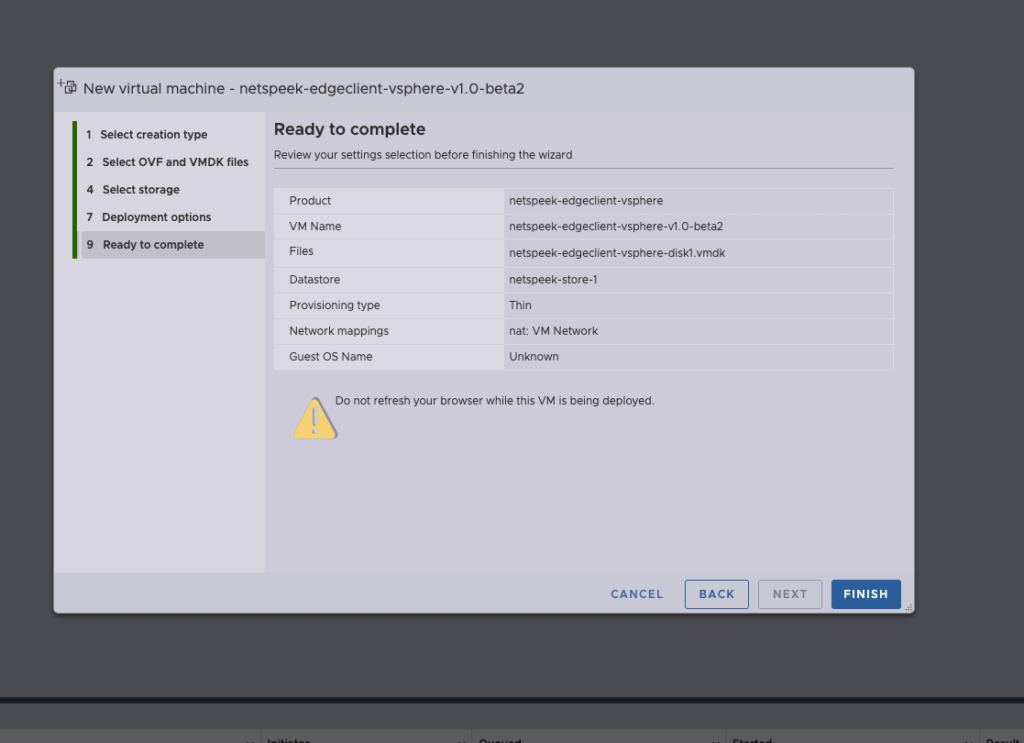
5. Review your settings and click “Finish”.
2. Start the VM and check networking
- Start the VM – VMware ESXi will automatically launch the console window.
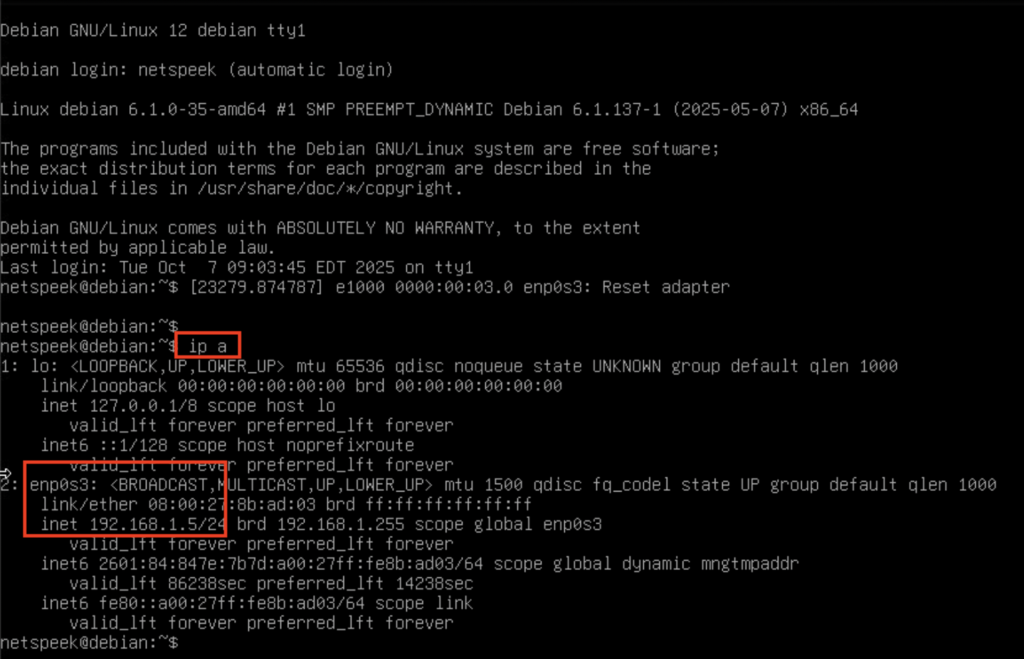
- The console does not require login credentials and will show a command line interface similar to the image below.
- Click inside the console interface to ensure keyboard input is being sent to the Edge Client VM and run the command:
ip a
Look for an IP address assigned to a network adapter, likely labeled enp0s3 (e.g., in the below example image the IP address assigned to that adapter is 192.168.1.5)
3. Confirm the Edge VM is Running
On your host or another device on the same network as the Edge VM, open a browser and navigate to:
http://<vm-ip>:8080
Note
If your browser defaults to HTTPS (which is certificate-secured connections to websites), you will need to manually specify an HTTP URL, including the port 8080, precisely as described in the example above. The NetSpeek Edge does not support HTTPS connections to the web UI in order to avoid browser compatibility problems with self-signed certificates.
Taking the HTTP and port 8080 requirements together to construct an example URL, if your VM has been assigned the address 10.1.2.3 your login URL would be:
http://10.1.2.3:8080
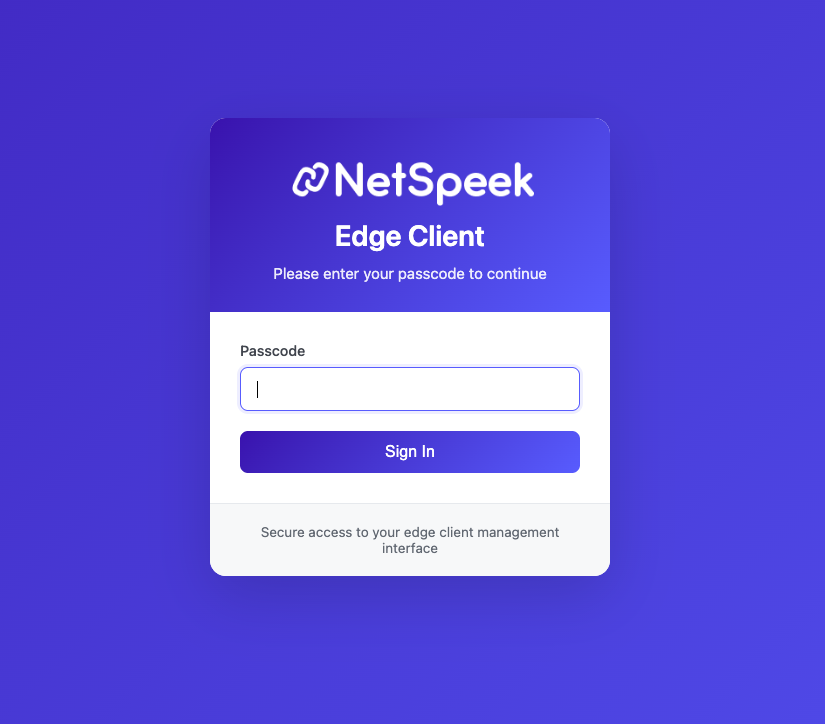
You should see the Edge Client Service Management UI login page, as shown below.
At this stage you have completed VM deployment and are ready for configuration of your Edge, which is addressed starting in step 5 of the main Edge Installation Guide.